Xbox 360 Fat Hack
Introduction
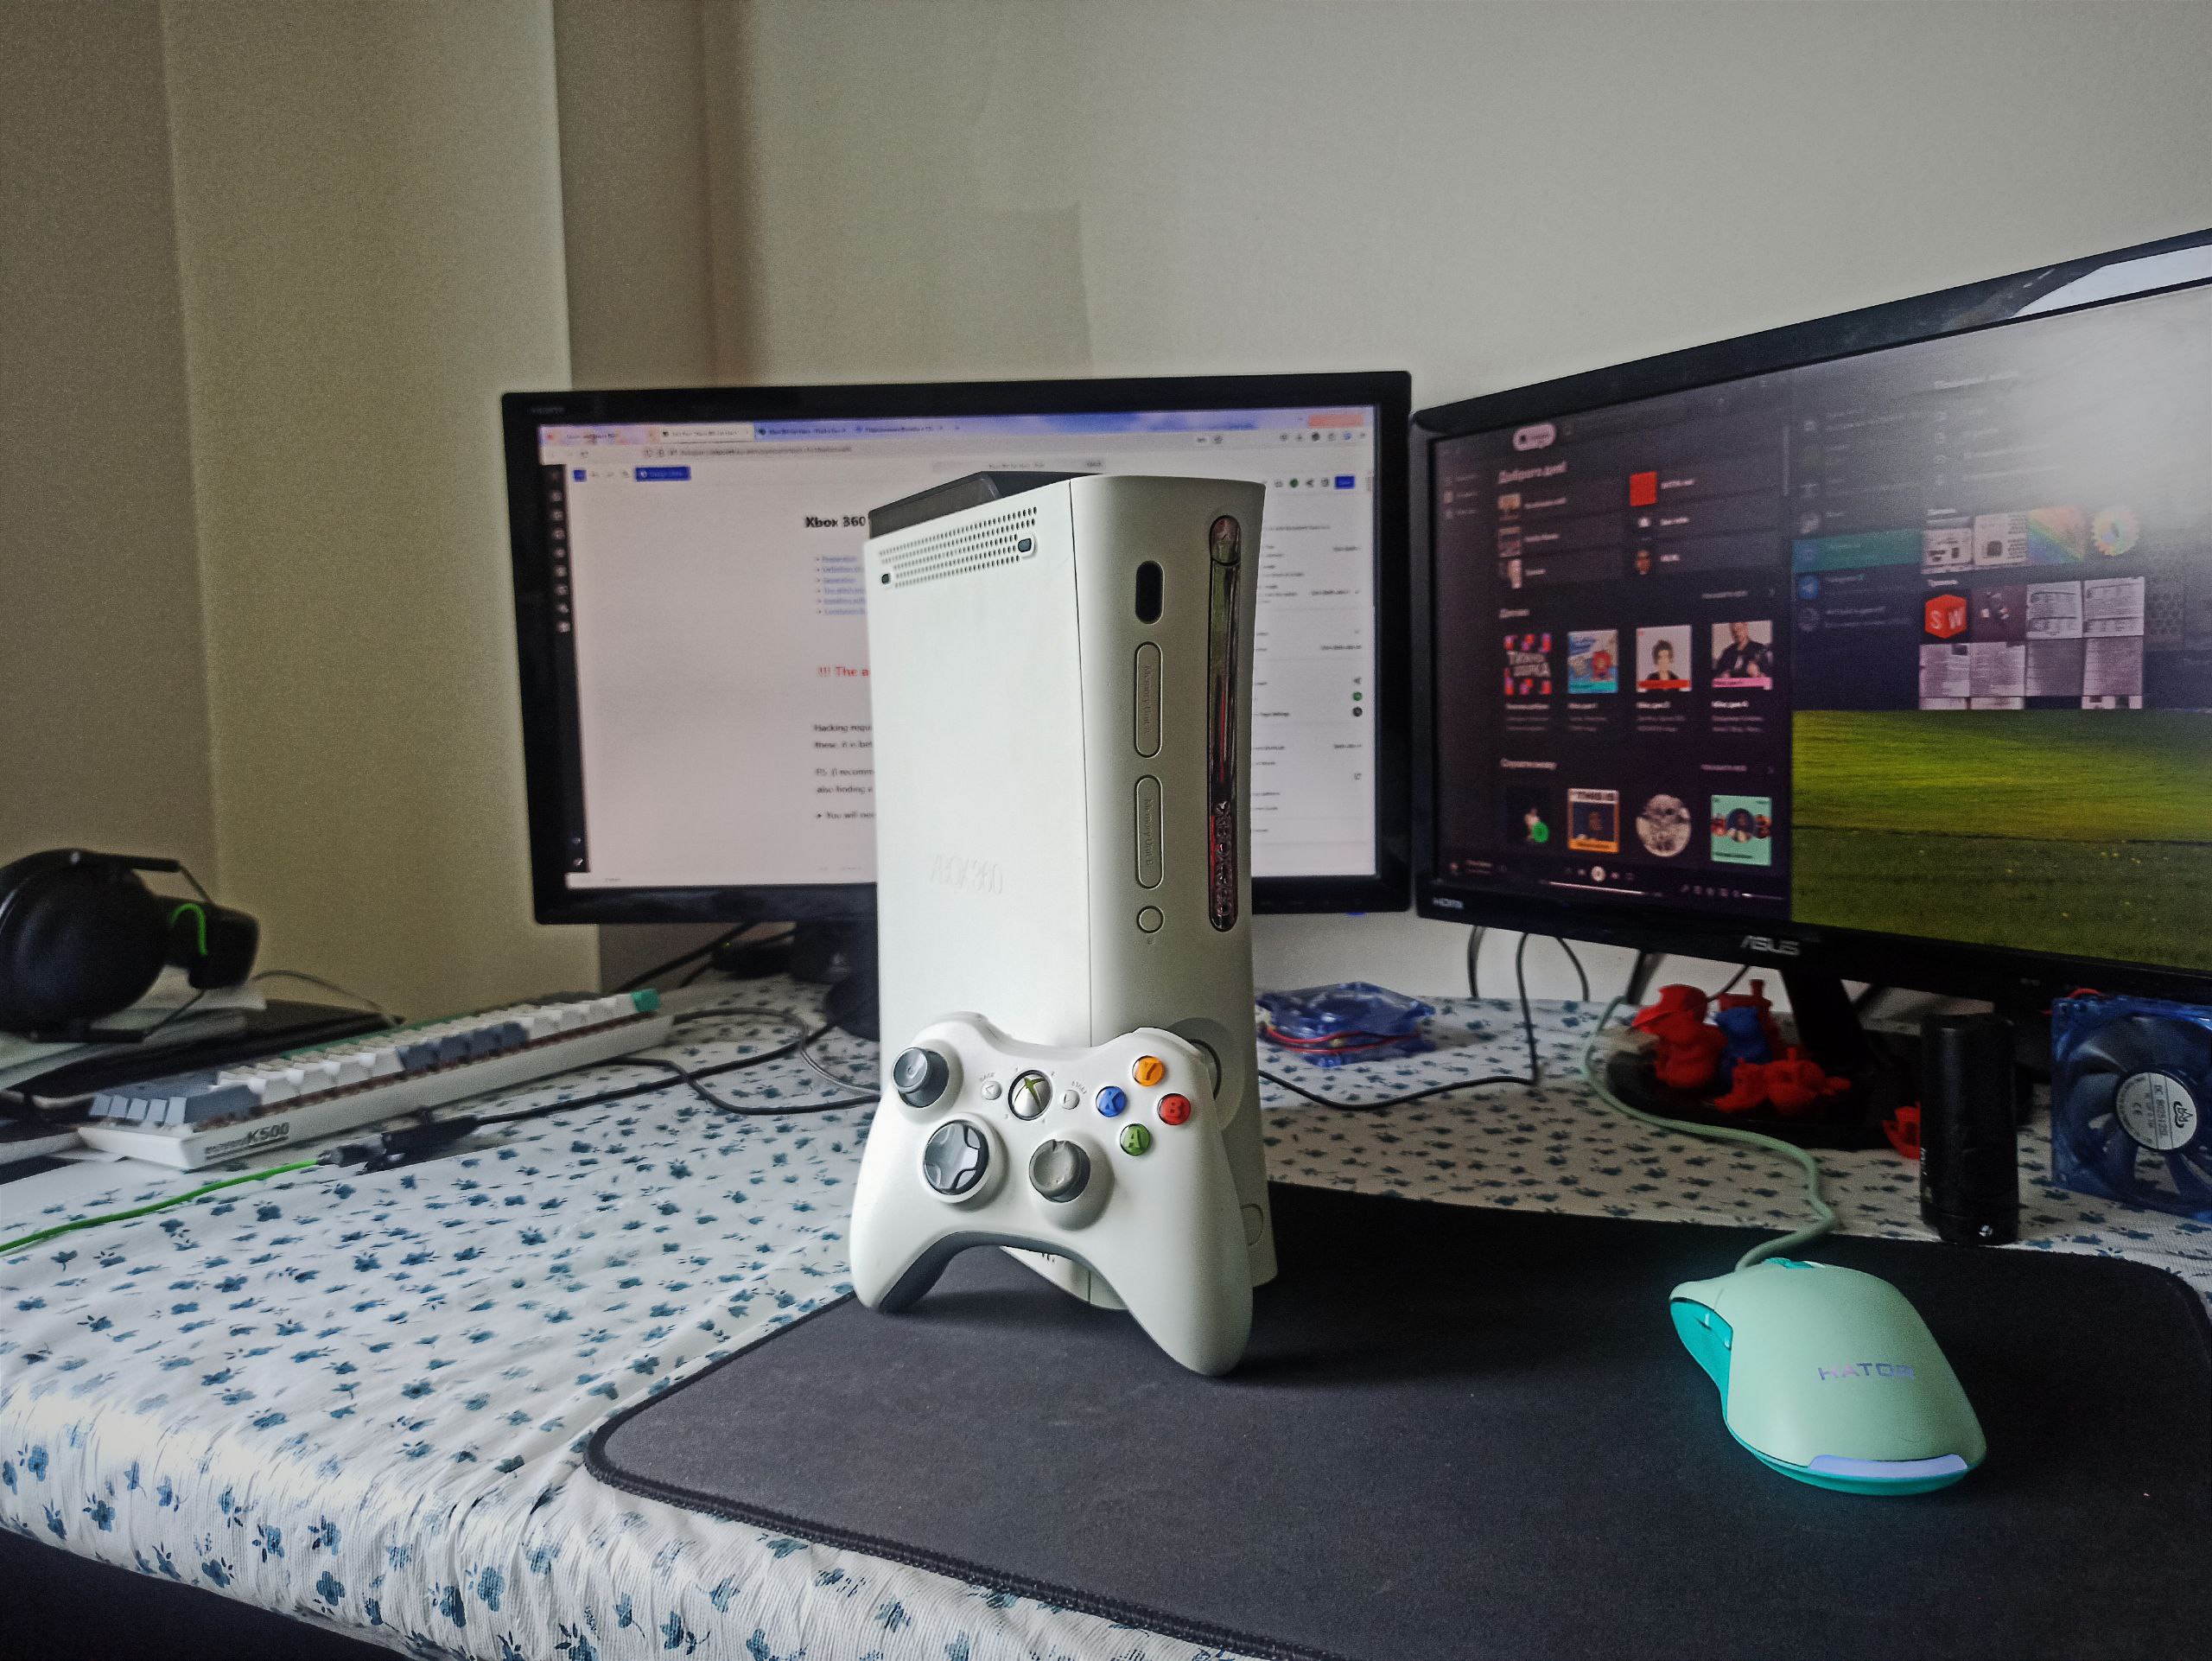
//There are quite a few methods for hacking Xbox360 (LT 3.0, RGH2, RGH3.0, BadUpdate) today we will analyze the step-by-step firmware RGH3.0 it allows you to run unlicensed content (games, plugins and homebrew) without using additional chips. The firmware is loaded through the programmer into the console's permanent memory Nand. In the future, this firmware allows you to run pirated discs as well. After the firmware, I recommend installing a shell (Aurora or FreeStyle) my choice falls on the first, because it is newer and more open in settings. After the firmware, you can run games from a flash drive, but to install the shell I recommend having an HDD. On this we end the theory and move on to practice
Preparation
The author is not responsible for the life of the console, hacking requires soldering skills and straight hands, if you don’t have these, it is better to contact the service!!!
//All attached software will be in archives, of course they need to be unpacked
//Before you can start viewing, Dashboard version 17559 must be installed
You will need
- Programmer (you can get ready-made ones from AliExpress or use Rasberry PI Pico for help)
- PC or Laptop with Windows (USB cable for programmer)
- USB stick in fat32 system
- Soldering iron, flux, solder, circuit board cleaning fluid (I will use Isopropyl alcohol)
- A 22K Ohm resistor and a 1N4148 Diode
- 28 AWG cable
- T8 and a T10 Torx screwdriver for all the screws in the console & flat one for opening
- Optional (pliers or lower cutters, tweezers, electrical tape)
//Xbox 360 has many revisions, in my case it is Falcon (for Jasper revision all steps are similar) this photo will help you understand your revision by looking at the power connector

This is example from my console

//P.S. I recommend preparing an empty table without pets and children and also finding a box for all the screws
Separation
Plastic covers
//The front panel is easily removed by grabbing it with something from above and simply pulling it towards you

//To remove the top panel, pry it open with something along the edges, all 6 latches are marked in the photo

//Then turn the console over and do the same from the bottom.

//Lay the console on its side and open the four latches while pulling the case up slightly. When you’re done, put something inside to keep them from closing.

//The hardest part (rear latches) insert a flat screwdriver into the holes until you hear a characteristic click, start from the USB port side and move down (the last latch always opens poorly, try to find a point and press harder) when everything is ready, remove the side panel and proceed to the next stage

Inside gears
//Unscrew the six long screws and separate the metal box

//Turn the console over, remove the drive button and lift the DVD player up, disconnect the two cables (power and SATA) and then you can completely pull out the player.

//Remove the plastic cover (diffuser for LEDs) and unscrew the three screws after then pull out controller board

//Lift the iron case and slide out the fan, then pull the white casing upwards, disconnect the power to the fans and pull them out completely

//Turn the console over, unscrew all the bolts (I recommend starting with the 9 large ones, they are marked in purple in the photo), then turn the console back over, lift the motherboard up by holding the USB and Memory Card ports and slide it out towards you

Overview
//Here are all the parts that had to be removed (I’ll attach a list below) if everything went well, put everything aside except the motherboard and prepare a soldering iron

List of all parts
- Front panel
- Top & bottom covers
- Side panels
- DVD player(& button)
- Fan & white cover
- Controller board & diffuser
- Metal protection box
- Motherboard
- 6 long screws
- 9 middle screws
- 11 black screws
Glitch process
//First download, unzip and run JRunner, then connect your programmer and make sure its logo is displayed (I will use Pico flasher)

Raspberry Pi pico firmware in picoflasher
//Download the PicoFlasher.uf2 file, hold down the BOOT button on the pico and connect it to the computer, release the button and go to the file explorer, it should appear as a storage medium, drop this file there and when it’s finished, it will disconnect itself and appear as a programmer in JRunner (if not, try reconnecting the pico or re-flashing the firmware)

//Disconnect the power from the programmer and logically from the console. Solder the programmer as shown below, you can use thin AWG wire but I will use multi-colored wires for clarity


//After soldering, carefully rinse the soldering area with a solution or alcohol, connect the console power supply, connect the programmer to the computer (make sure it appears in the program) then click on “? ” the console version should appear in the window below (if not, try restarting the program/restarting the computer, rinse the soldering contacts well again or resolder them, they may be shorted somewhere) if everything is ok, click “Read Nand” and wait for the reading to complete

//When finished, go to the J-Runner>output directory and copy nanddump1 & …2 to a safe place (these files are the original backup, in case of failure you can upload them back to the console)
//At the top right, set “Kernel Version” to 17559 (I hope you didn’t forget to update the console). Select Glitch2 and RGH3.0, leave the frequency at 27MHz, then click “Create Xell”. Wait for it to finish, press “WriteXell” and wait for it write successful

//Disconnect the power from both the programmer and the console (at this stage, the console won’t turn on—this is normal)
//Install the CPU_PLL_BYPASS ->22kohm -> DB1F1 connection as shown in the image below

//Install the POST_BUS_1 -> 1N4148 diode -> R3P7 connection as shown in the image below(make sure not to reverse the diode polarity)

//Properly clean the solder joints, check under magnification or phone macro mode for accidental bridges between pads, then secure the wires in place with insulating tape
My current result looks like this

//Connect the console’s power supply, controllers board and HDMI or AV video cable, then try to boot the console (if it turns on and immediately shuts off or displays red lights, carefully check all soldering points). After booting, wait until XELL scrolls down and displays the CPU Key—memorize it without using photos or notes (joke)

//Write this key in “CPU Key” if everything is ok the program will say that it fits, click “Create XeBuild” wait for completion, check if the “Load Source” field at the end contains the file updflash.bin, turn off the console (but do not turn off the power) connect the programmer (check again if everything is ok by pressing “? “) and click “Write Nand”

//Wait for the firmware to finish, turn off the programmer and power cord. Turn on the power cord and start the console, it should boot into the normal menu (if xell is booting, try setting “Kernel Version” 17489, and repeat the point above “Create XeBuild” …”WriteNand ” ) (the console must be started with the power button, if you press the DVD button, xell will boot)
//If everything worked out, congratulations! Turn off the power, unsolder the programmer from the motherboard and wash it, reassemble the console in reverse order and that’s it… Hmm, where are the free games? In the next section😉
Software instalation
//When the console is turned on, do not log into Xbox Live. Prepare the flash drive by formatting it to FAT32 format
//Connect the flash drive to the console, go to Settings/system/storage/ select the flash drive, press Y and format it again through the console

//Download and unpack xexmenu and horizon, install and run Horizon as administrator. Connect the flash drive to the PC, when it appears in the program, click “Inject New File”, select the unpacked XEX menu and go to the end of the folder >Content… >CODE99990F586558. xex

//Through the file manager, drop the Aurora and DashLaunch folders into the root of the flash drive
//Insert the flash drive into the console, go to games and run xex menu (demo game), scroll to usb0 with the LB button, select the Aurora folder, press Y “Copy” then use the X button to move to HDD1 and paste the folder into the root, repeat this with the DashLaunch folder
Go to DashLaunch/Installer/default.xex and run it with the A button

//Select +Paths and in the Default section select the path to Aurora (Hdd:\Aurora\Aurora.xex) press RB select HDD and confirm with X (the result of the action will appear in the left corner) press B button you should boot into the Aurora shell


Installing games
//Games will usually be downloaded in .iso format (of course after you unzip the archive) in order to run the game on the console you need to convert it to .god format, for this download iso2god
//In the program, click “Add ISO”, select your unpacked .iso image, the icon of your game will appear in the window, in “Output Location” choose where to convert the game (I will choose the root of the flash drive), uncheck “Save Rebuilt ISO Image” and below select any folder for “Temporary Location for Rebuilt ISO” (it will contain files during conversion, then they will be deleted) click “Add ISO” and click “Convert” the conversion process for one game can take up to 10 minutes

//After conversion, copy the game folder to a flash drive (or just convert it right away like I did), insert it into the console, press “Back”, select “File Manager”, hover over the game folder, press X, select “Copy”, use the RB button to move to the right window of the explorer, select hdd\content\…00000\ and insert the game folder here. Then from the main menu, press System on the gamepad, go to Content>Add (check if there is a check mark on AutoScan) and select the path to the 00000000 folder on the hdd, press Y, exit to the main menu, the game should appear on the screen

//If the game appears without a cover, connect to the Internet through the native DashBoard, press “Xbox” on the gamepad, then Y to confirm the exit and hold RB until you enter the native shell. When you connect to the Internet (xbox live will not be available, the connection should only be with the router) return to Aurora, press Y on the desired game and on the penultimate tab, scroll to download the cover, select the desired one and exit

//Before starting a new game, I recommend restarting the shell, that’s all, have a good game, and if you have any questions, write on the forum, I and others will help 😉
Software
PicoFlasher.uf2
JRunner
Horizon
XeX Menu
Aurora
DashLaunch
ISO2GOD
Summary
//In conclusion, I want to say that since Xbox has officially shut down its store for the Xbox 360, modding this console essentially gives it a second life. I also want to warn you that in my experience (I’ve modded about 20 gaming consoles from different brands), two consoles ended up dying, and they were specifically the Fat versions. I never figured out the reason, even to this day—though one console was used, and the other was brand new. In the end, a few days after modding, they simply stopped turning on. I hope this issue doesn’t affect you. Now, I just want to wish you success and happy gaming!